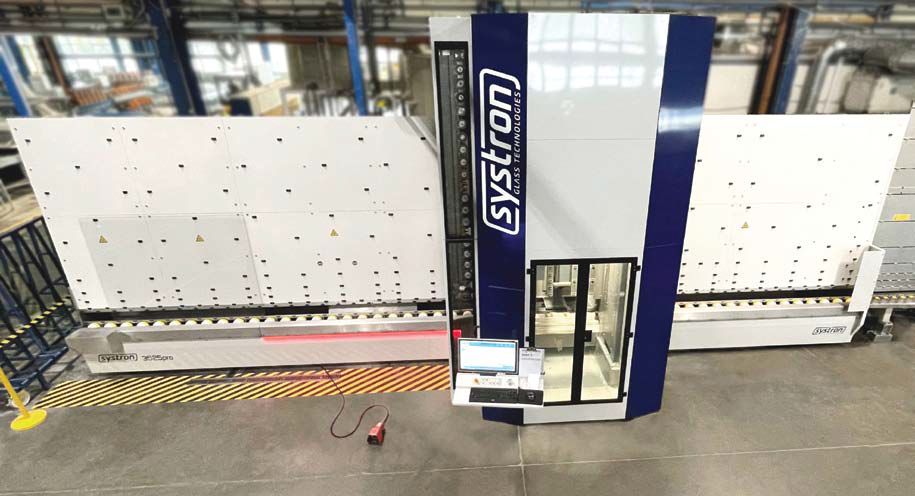
The new SOFTSOLUTION LineScanner combines several quality tests in a single control unit. The new feature here is the measurement of the edge stress. Read how the scanner can also be used for the online testing of tempered glass in relation to anisotropies.
According to information from the provider, the LineScanner is a unique combination designed to perform several quality tests in a single device, thereby dispensing with the need to install different testing stations. The type of tension measurement used would be suitable for factory production control and is intended to be recognised as a reliable non-destructive method of testing in accordance with EN12150-1. The device can now also measure the edge stress in megapascals [MPa], i.e. at 1.2 mm intervals along each edge of a glass sheet, as the developers emphasise.

CEO, Thomas Schuller
This means that the plant manager or shift supervisor (or furnace master) can keep an eye on which level of pretensioning is being produced at any given time: This would equally apply both to STG and TSG glass. In the event of deviations from the quality required, the furnace master can immediately intervene.
In relation to the anisotropy test, SOFTSOLUTION Managing Director Thomas Schuller states: „The use of a defined polarised light source enables the tempered glass to be scanned at the furnace directly at the outlet of the cooling area in an online procedure.
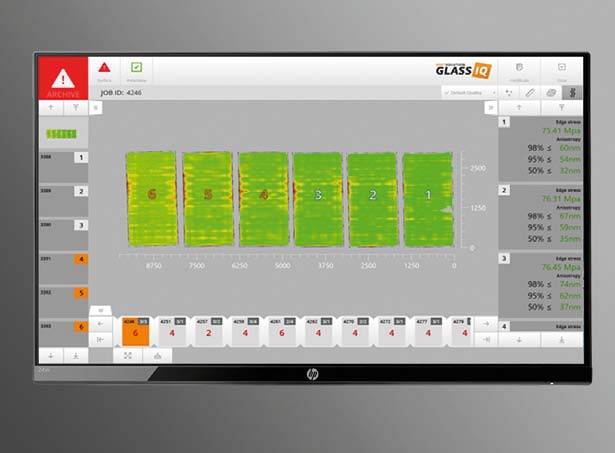
With the new scanner technology and the associated software, it is now also possible to evaluate the quality of tempered safety glass (TSG) and semi-tempered glass (STG) after tempering in relation to anisotropies using photoelastic methods
This makes it possible to measure the path differences of the doubly refracted wavelengths in each case. The scanned glass with its areas of tension is displayed on the screen. This way, the furnace master receives direct feedback and can decide immediately whether he has to intervene in the process control system.”
“In the quality test, the edge stress is further referenced to the surface tension, thereby providing a conclusion about the fracture pattern to be expected.” Schuller adds: „Together with the scan, the edge stress can also be me measured, whereby a high degree of accuracy of the impressed surface compressive tension can be obtained.
” How the tension test works „With this type of testing”, explains Thomas Schuller, „the homogeneity of the distribution of tension across the entire surface of the glass is measured and documented for each single sheet of glass. This also includes the impressed tensions. This form of tension measuring is suitable for factory production control and is intended to be recognised as a reliable non-destructive testing method (in accordance with EN 12150-1).”
Schuller emphasises: „The non-destructive measuring of tension conditions in tempered glass by our scanner technology is an important development for the reproducibility of the quality of TSG and STG glass.” All the functions in a single control unit
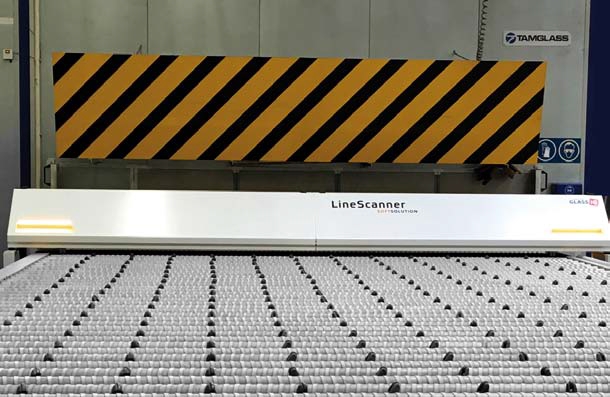
The installation of the scanner only requires a small space, as can be seen here at the outlet of a tempering furnace
The scanner unit is able to perform the following functions:
- Anisotropy test (measuring the light delay up to 465 nm/pixel – optional up to 900 nm/pixel).
- Measuring the edge stress. The resulting conclusion on the surface tension and the fracture pattern of the tempered glass to be expected.
- Optical quality testing, including inclusions, scratches and coating errors.
- Dimensional testing of the lite including cutting and drill hole testing, also in terms of position and diameter.
- Assignment to the correct lite according to the batch allocation and thus aggregating all the quality data for the order line!
- The results for each lite are stored in a database and fully documented.
Managing Director Schuller emphasises the archiving function of the collected data: „Thanks to the data archive – including the dimension of the glass and its contours – the user is able to supply his customers with all the data collected on request. This is particularly relevant and important in the event of complaints as well as tenders where defined qualities of glass are required.
| “GLÄSERNDES GLAS” (TRANSPARENT GLASS) PROJECT The development both of the new quality test and the control unit is the result of a joint research project undertaken by SOFTSOLUTION, Uniglas and the Munich and RWTH Aachen universities. In the scope of the project, a standardised and non-destructive testing method for the identification of anisotropies was sought. The goal was to evaluate and optimise the quality of TSG/STG glass after tempering using photoelastic methods – i.e. using a scanner and software – and finding a generally valid and reproducible testing method. |
Equipped with all these functions, the LineScanner is therefore a suitable solution for the quality testing of transparent flat glass products:
These include single lites, insulating glass units, automotive glass as well as processed glass, polycarbonate and foils. The control unit tests all glass products for all quality and dimensional defects with the utmost precision.
The installation is a simple matter and allows a fast and uncomplicated commissioning with minimal space requirement. Furthermore, the system is designed to be easy to operate for production employees”, according to the developers.
The SOFTSOLUTION manufacturer (www.glass-iq.com) has over 450 LineScanner installations worldwide. All the LineScanners are developed and produced in Waidhofen/Ybbs, Austria. Thomas Schuller: „Our LineScanners help glass manufacturers to supply their customers with a constant quality, while reducing the level of complaints.”
Całość artykułu w wydaniu drukowanym i elektronicznym
Inne artykuły o podobnej tematyce patrz Serwisy Tematyczne
Więcej informacji: Świat Szkła 5/2019


